やりたいこと
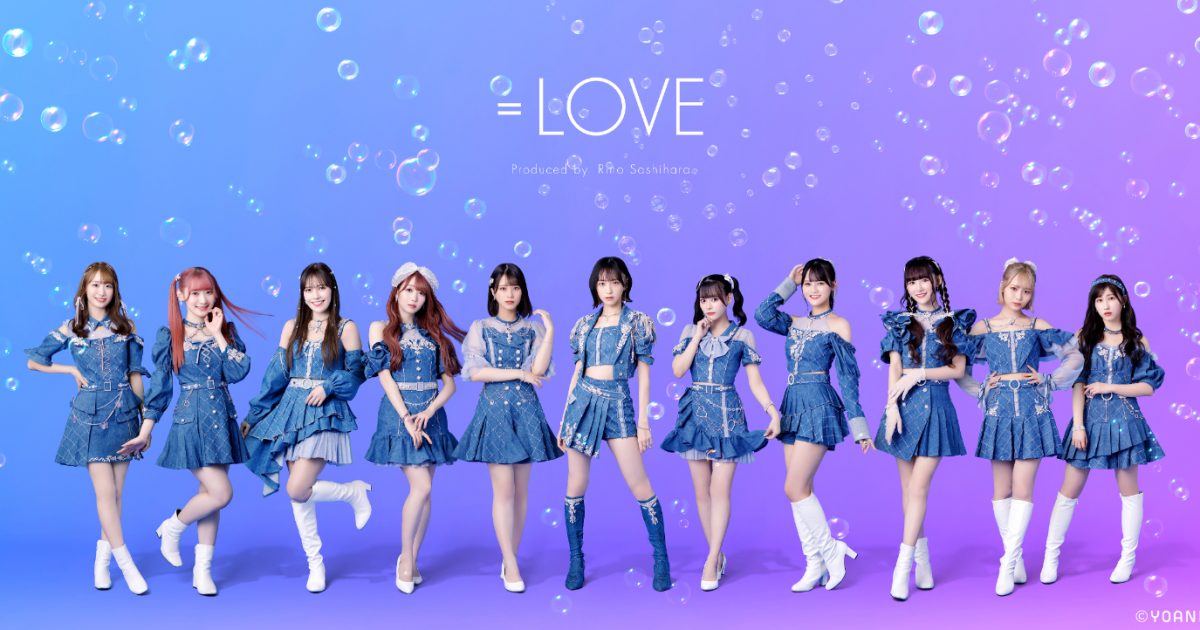
私が好きなアイドルグループ=LOVEの野口衣織さんと大谷映美里さんを識別できるようなWebサイトを作成してみます。=LOVEについては左のリンクを参照ください。(布教)
今回やること
今回は顔識別をするということで学習モデルの作成をやってみようと思います。
ずっとやってみたいと思ってたのですが、やり方がわからずできなかったので今回頑張ってみることにしました。
機械学習に関しては完全なる初心者ですので、温かい目で見守ってください。
データセット集め
まずは学習に必要なデータセット(画像)を集めました。
野口衣織さん40枚、大谷映美里さん40枚の画像を集めてみました。
集め方は地道に保存を繰り返して顔の部分をトリミングしました。(OpenCVとか使えばもっと効率的にできたと思うのですが、知見が足りませんでした。)
野口衣織さんの画像データはiori_n.JPG
大谷映美里さんの画像データはemiri_n.JPG
のファイル名で保存されています。nは任意の数です。
以下が集めて加工した画像の一例になります。(左:大谷映美里さん 右:野口衣織さん)


画像データを集めることができたので次は実際に学習モデルの作成に移ります。
学習モデルの作成
今回は犬or猫みたいな形で「野口衣織さん」or「大谷映美里さん」かの二項分類を行うための学習モデルを作成しました。
以下が学習の際に用いたコードです。
from PIL import Image
import numpy as np
import os
from sklearn.model_selection import train_test_split
from tensorflow.keras.preprocessing.image import ImageDataGenerator
from tensorflow.keras.models import load_model
from sklearn.model_selection import train_test_split
from keras.models import Sequential
from tensorflow.keras.models import Sequential
from tensorflow.keras.layers import Conv2D, MaxPooling2D, Activation, Dropout, Flatten, Dense

def load_and_preprocess_image(path):
    with Image.open(path) as img:
        # RGBAをRGBに変換
        if img.mode == 'RGBA':
            img = img.convert('RGB')
        img = img.resize((224, 224))
        img_array = np.array(img) / 255.0
    return img_array

#ここに集めた画像が全部入っています。
image_directory = './iori_or_emiri'

# すべての画像を前処理する
preprocessed_images = []
for filename in os.listdir(image_directory):
    image_path = os.path.join(image_directory, filename)
    preprocessed_image = load_and_preprocess_image(image_path)
    preprocessed_images.append(preprocessed_image)


# 画像とラベルのペアを作成する
image_label_pairs = []
for filename in os.listdir(image_directory):
    if "iori" in filename:
        label = 0  # 野口衣織を0
    elif "emiri" in filename:
        label = 1  # 大谷映美里を1
    else:
        continue  # 他のカテゴリーの場合はスキップ

    image_path = os.path.join(image_directory, filename)
    image_label_pairs.append((image_path, label))

# それぞれのリストを作成
preprocessed_images = [load_and_preprocess_image(path) for path, label in image_label_pairs]
labels = [label for path, label in image_label_pairs]

# preprocessed_imagesは前処理された画像の配列

X_train, X_test, y_train, y_test = train_test_split(preprocessed_images, labels, test_size=0.2)
X_train, X_val, y_train, y_val = train_test_split(X_train, y_train, test_size=0.1)


# テストデータとラベルをNumPy配列に変換
X_test = np.array(X_test, dtype=np.float32)
y_test = np.array(y_test, dtype=np.int32)
X_train = np.array(X_train, dtype=np.float32)
y_train = np.array(y_train, dtype=np.int32)
X_val = np.array(X_val, dtype=np.float32)
y_val = np.array(y_val, dtype=np.int32)

# 変換後のデータの形状とデータ型を確認
print("X_test shape:", X_test.shape)
print("y_test shape:", y_test.shape)
print("X_test dtype:", X_test.dtype)
print("y_test dtype:", y_test.dtype)
print("X_train shape:", X_train.shape, "dtype:", X_train.dtype)
print("y_train shape:", y_train.shape, "dtype:", y_train.dtype)
print("X_val shape:", X_val.shape, "dtype:", X_val.dtype)
print("y_val shape:", y_val.shape, "dtype:", y_val.dtype)

model = Sequential()
model.add(Conv2D(32, (3, 3), input_shape=(224, 224, 3)))
model.add(Activation('relu'))
model.add(MaxPooling2D(pool_size=(2, 2)))

model.add(Conv2D(32, (3, 3)))
model.add(Activation('relu'))
model.add(MaxPooling2D(pool_size=(2, 2)))

model.add(Conv2D(64, (3, 3)))
model.add(Activation('relu'))
model.add(MaxPooling2D(pool_size=(2, 2)))

model.add(Flatten())  # この変換は画像を1次元に変換します
model.add(Dense(64))
model.add(Activation('relu'))
model.add(Dropout(0.5))
model.add(Dense(1))  # 出力層のニューロン数はクラス数に対応
model.add(Activation('sigmoid'))

model.compile(loss='binary_crossentropy',
              optimizer='adam',
              metrics=['accuracy'])

model.fit(X_train, y_train, batch_size=128, epochs=25, validation_data=(X_val, y_val))

loss, accuracy = model.evaluate(X_test, y_test)

print(f"Test Accuracy: {accuracy*100}%")

model.save('my_model.h5')
簡単にコードの解説?を入れてみます。
- 画像の前処理:
- 画像ファイルを読み込み、サイズを224×224に変更し、RGB形式に変換します。
- 画像データを0から1の範囲に正規化します(
np.array(img) / 255.0)。
- ラベル付け:
- 各画像ファイル名に基づいて、対応するラベル(
0または1)を割り当てます。
- 各画像ファイル名に基づいて、対応するラベル(
- データセットの分割:
- 画像とラベルのデータセットを訓練用、検証用、テスト用に分割します。
- ニューラルネットワークモデルの構築:
Sequentialモデルを使用して、畳み込み層(Conv2D)、活性化関数(Activation)、プーリング層(MaxPooling2D)、全結合層(Dense)を持つニューラルネットワークを構築します。
- モデルのコンパイル:
- モデルをバイナリクロスエントロピー損失関数とAdamオプティマイザでコンパイルします。
- モデルの訓練:
- 訓練データを用いてモデルを訓練し、検証データでその性能を評価します。
- モデルの評価と保存:
- テストデータでモデルの性能を評価し、モデルをファイルに保存します。
実際に学習させてみたら以下のような結果になりました。
Test Accuracy: 86.36363744735718%
相場がわかりませんがこんなもんなんですかね?
次回やること
とりあえずこれで学習モデルを作成したので次は実際にこの学習モデルをWebアプリの方に組み込んでいきたいと思います。
